Create or Edit Spreads
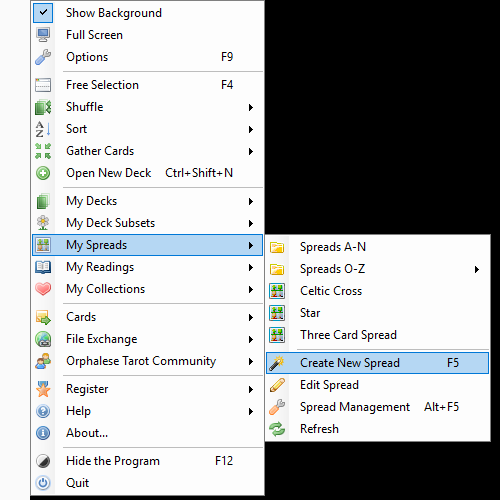
The Create or Edit Spread tool, also known as the Spread Wizard is launched from the My Spreads menu, either by clicking Create New Spread or Edit Spread and browsing to the spread you want to edit.
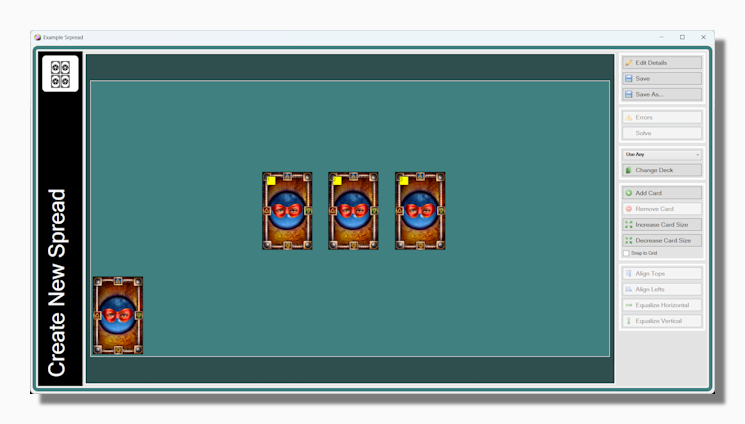
This is the tool in Spread Creation mode:
Spread Creation Step-by-Step
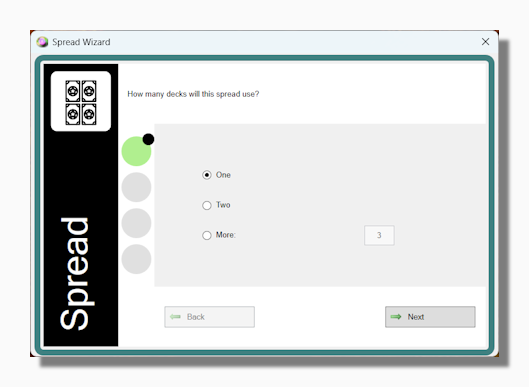
The program prompts you to define basic details of the deck before the Spread Wizard opens. First you are invited to decide how many decks the spread will use. Most spreads only use one deck, but the program does not limit you to any number.
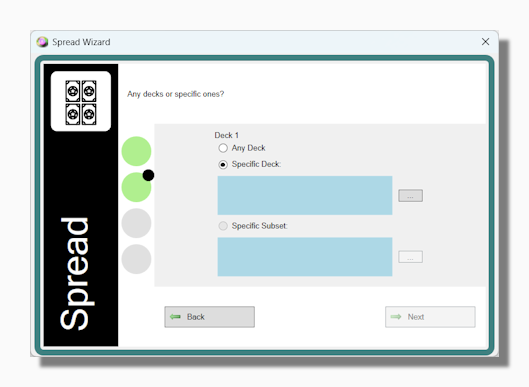
The first deck you choose can be set to Use Any deck (i.e. the program will use whatever deck you, or the person using the deck, happens to have out in that moment). On the other hand you can choose to use a specific deck or subset. With subsequent decks you do not have the "Use Any" option. You have to name the deck or subset that you want the program to use.
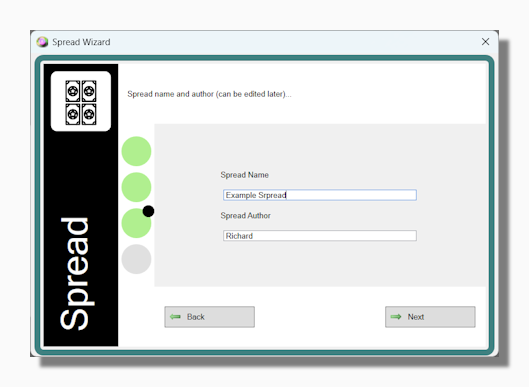
On the third screen you enter the name of the spread and author.
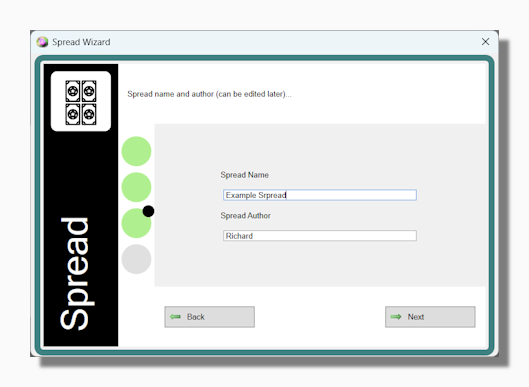
The fourth and final screen lets you confirm everything you have entered so far. You can go back if you need to change anything. When you press the OK button the Spread Wizard opens. This is where you can define the layout and meaning of the cards used in the spread.
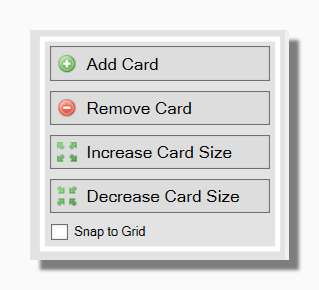
Add or remove cards by pressing on the respective buttons. You can position them by dragging them around the screen. You can also add cards by clicking on the deck, which is represented at the bottom left of the screen. If you are using more than one deck in the spread, select the name of the deck you want to add cards for first in the drop down list. Cards will be added (or removed) for whichever deck is currently selected.
The program gives you various tools to help with precise positioning of the cards. You can "lassoo" a group of cards by dragging around them with the mouse (while holding the left mouse button down). This will cause a yellow dotted line to appear. When you raise the mouse button any cards contained in this yellow dotted line will have been "lassooed".
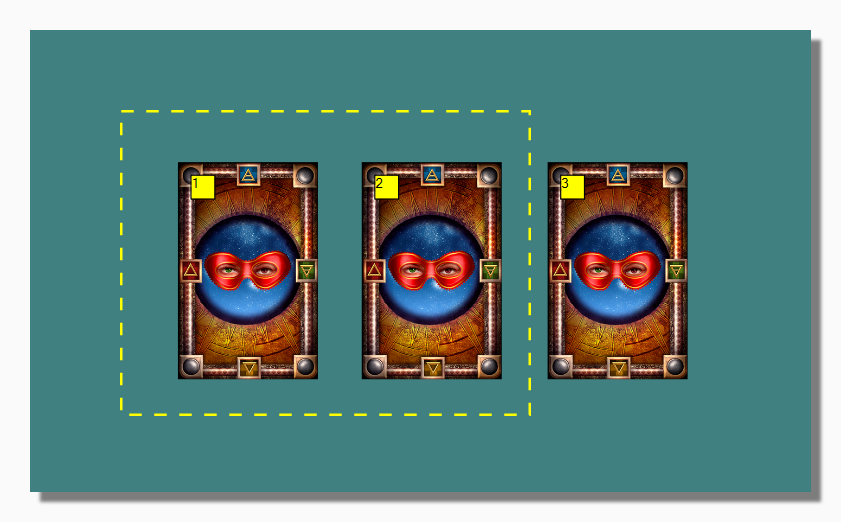
The cards you lassoo in this way can be acted on by the following controls:
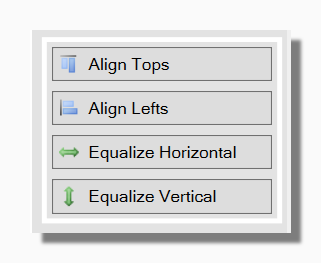
You can align the tops of the cards, align the left hand sides, or equalize the vertical or horizontal spacing between them.
Finally there is also the "Align to Grid" check box. This causes a grid of small squares to appear to which cards are automatically aligned, make it easier to position them neatly.
Tip: You can also find these options by right-clicking on any of the cards.
Tip: When two cards overlap and you want to make it so the bottom card is actually on top you can right-click and choose "Bring to Front". This actually changes the lay order of the cards within the deck so that the required card will be placed on top.
To Edit the notes associated with any spread position, right-click and choose "Edit Card Notes". A window like the following will open:
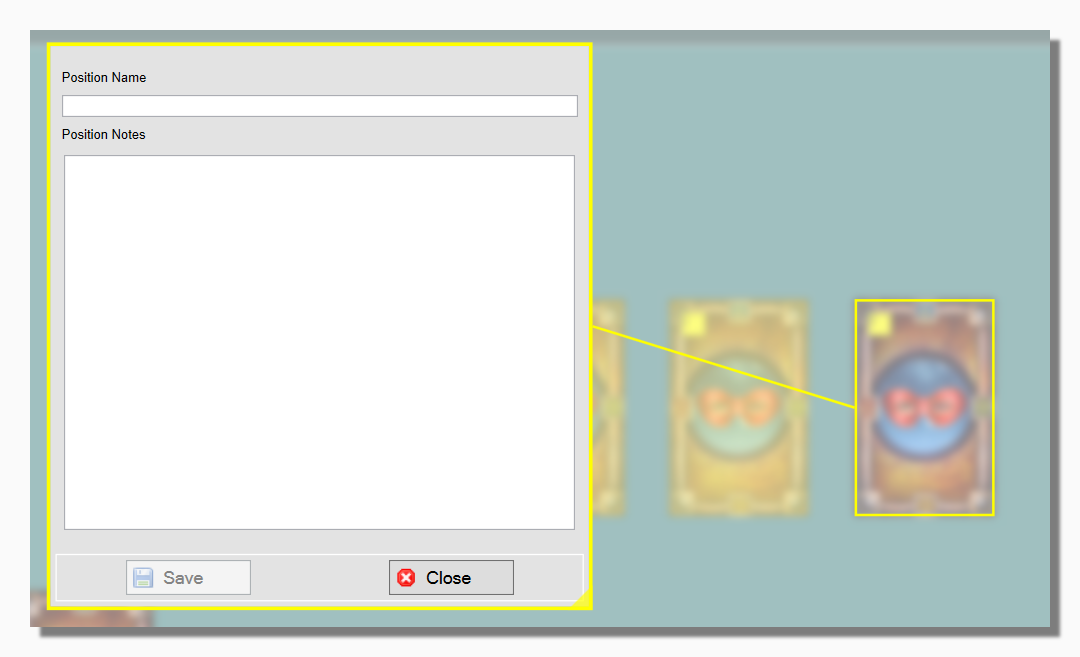
Here you can define the name and notes associated with this position in the spread.
Editing a Spread
When opening a spread for editing you may see a message like the following one:
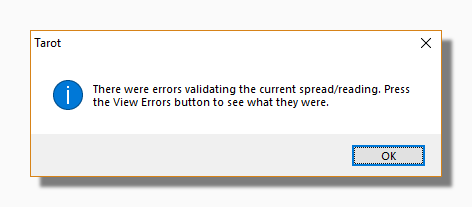
In this case you can see more detail about the errors by clicking on the View Errors button which becomes enabled under these circumstances:
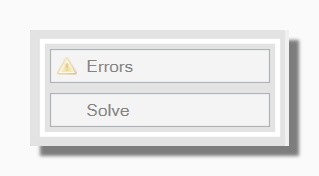
Examples of validation errors might include the case where a spread was created using a deck or subset which is missing or which has subsequently been edited so it no longer has enough cards to show the spread in question. If a deck is missing it will also show in red in the decks list.